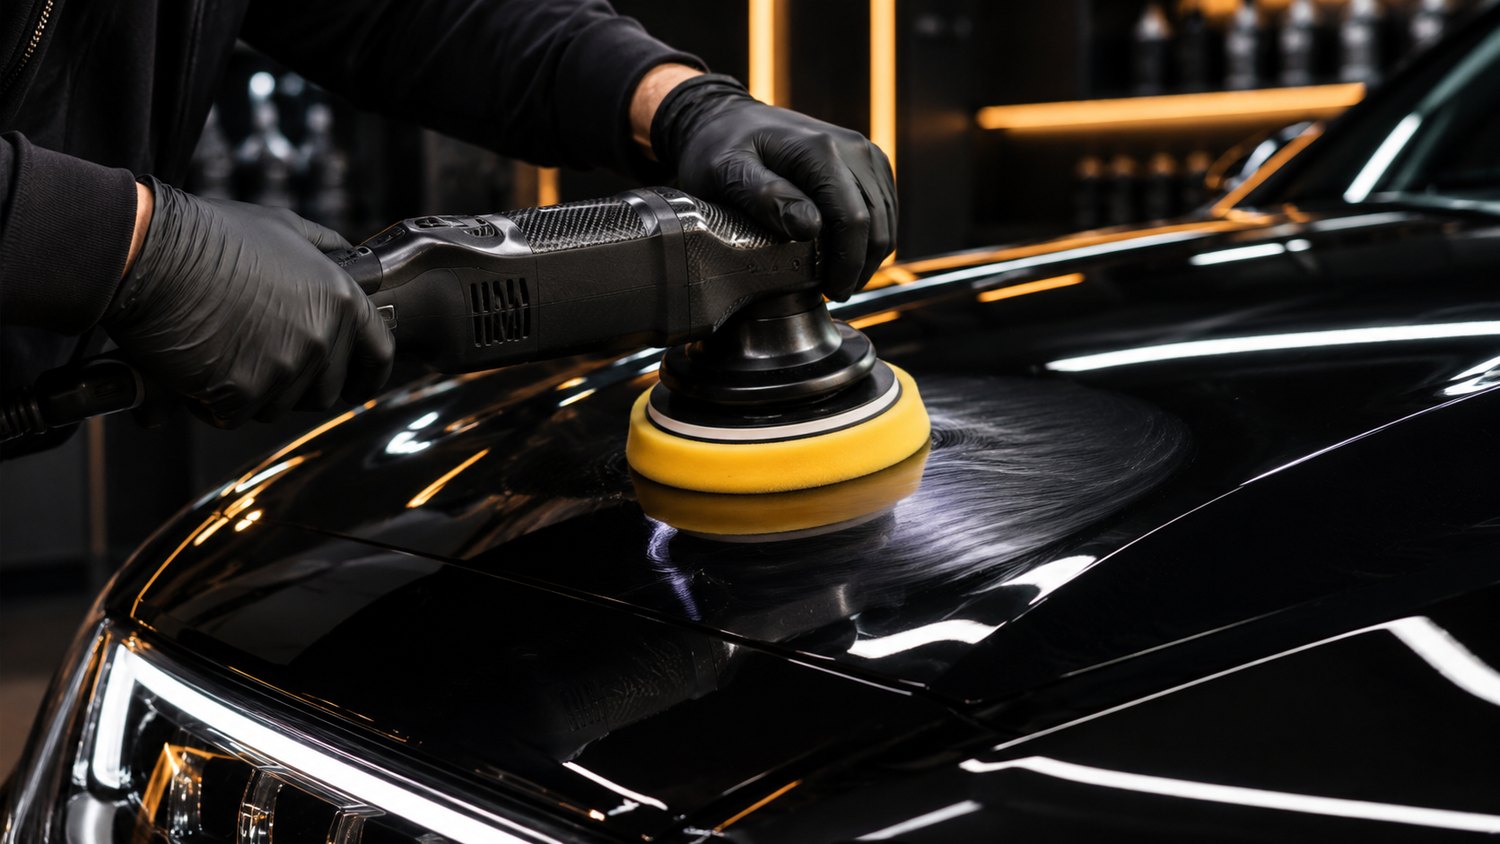
Step-by-step method
- Identify the defectInspect under appropriate lighting from different angles. Haze, holograms, light swirls, deep scratches and subsurface defects require different responses.
- Wash and decontaminate if neededClean the surface and address bonded contamination when necessary so it does not become trapped under the polishing pad.
- Assess paint riskRepainted, thin or suspect finishes warrant closer inspection and possibly paint thickness readings. A gauge does not by itself reveal clearcoat thickness.
- Start with a test spotChoose the least aggressive machine/pad/compound combination that meets your goal. RUPES offers pairing guidance based on defect type and paint hardness.
- Inspect and preserveCheck the result after removing residue. Stop before excessive material removal; through-finish defects often require paint repair.
Mistakes to avoid
- Promising removal of every scratch.
- Polishing compromised or fresh paint without assessing it.
- Chasing a perfect correction at the expense of clearcoat.
Key takeaway
A good correction improves appearance while preserving the finish.
See the Aston Martin 50/50 comparison
Work carried out during training and photographed during the polishing demonstration.
Technical references
- RUPES — BigFoot Polishing System (sélection)
- RUPES — BigFoot polishing pads
- Meguiar’s — Questions fréquentes entretien
VORA educational guide based on published instructions and recommendations from the manufacturers listed. The instructions for your vehicle and exact product take precedence. No result or universal safety guarantee is possible across all materials.